If you have the right tools and time at hand with proper environmental conditions then you should definitely think about how to install woven back carpet yourself. Really!
If you don’t know what woven carpet is then – “You’d be surprised to know that you are about to save up from $782 to $2,811 in additional costs for an average-sized room by installing your carpet by yourself.”
Getting curious now?
Bet you are.
And guess what!
You are in my article too where base trim to seaming process or use of the adhesive product I’m gonna explain you all in the easiest way. If you had read my power stretching procedure for making a hand-woven rug, you’d already know that.
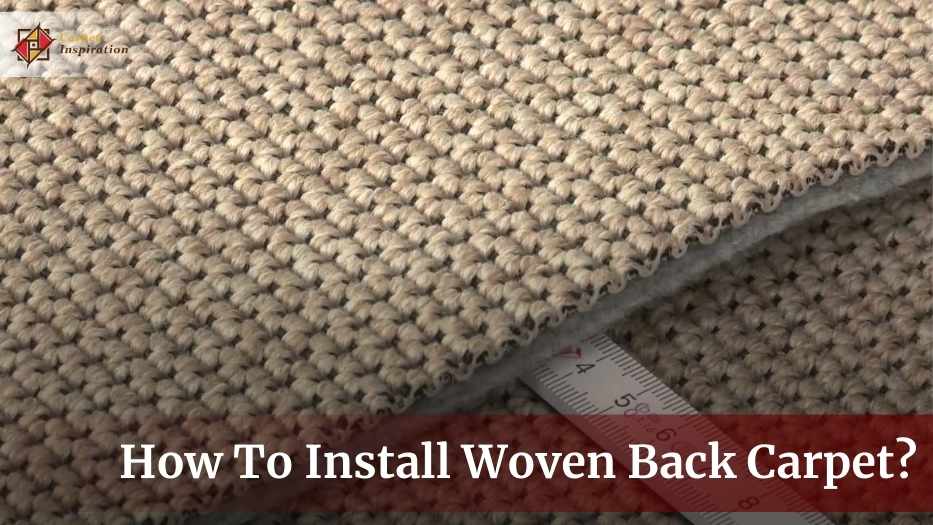
“By the end of this guide, you’ll be sure to achieve the ultimate professional finish. Just by following 8 certain steps, which make sure not to damage the abstract patterns on your Axminster carpet or any other type of woven carpet that you may have. The steps are –
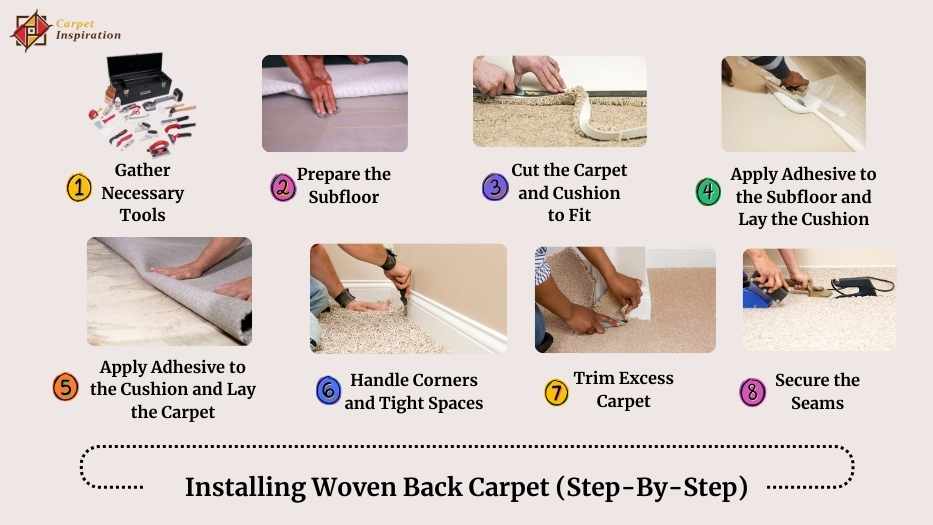
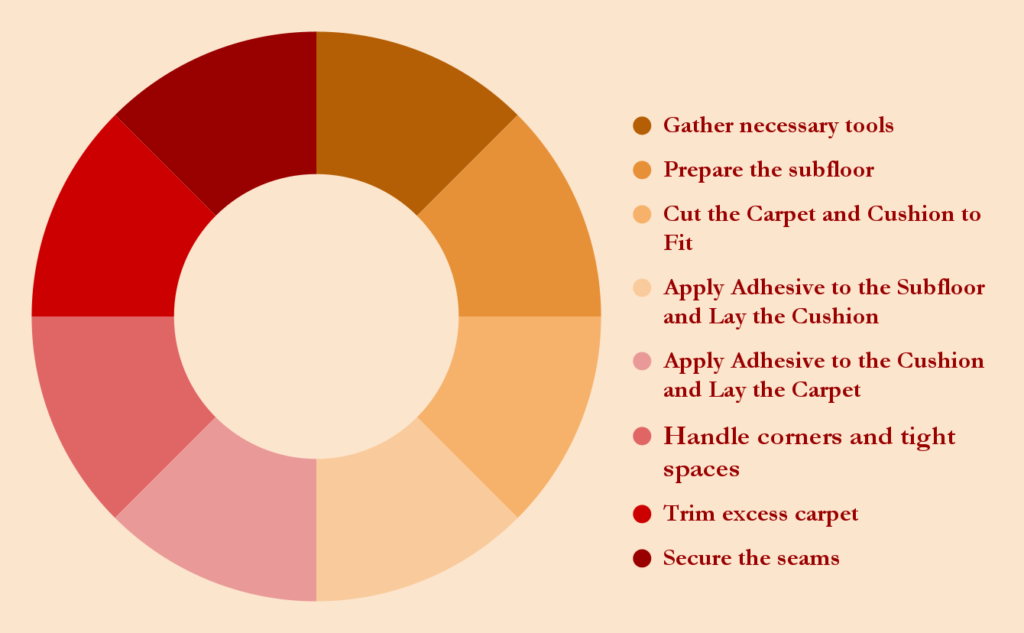
- Gather necessary tools
- Prepare the subfloor
- Cut the Carpet and Cushion to Fit
- Apply Adhesive to the Subfloor and Lay the Cushion
- Apply Adhesive to the Cushion and Lay the Carpet
- Handle corners and tight spaces
- Trim excess carpet
- Secure the seams”
Now what the wait is for… me to gain 35-50 Lb weight? No, right? So, chop chop let’s not waste a single strand of time and start installing your carpet real quick.
Here’s What You’ll Be Reading About–
Table of Contents
Can I Install The Woven Back Carpet By Myself?
Yes, you can install the woven back carpet by yourself really easily dear. You just need the right tools, a little bit of patience, and some confidence in yourself.
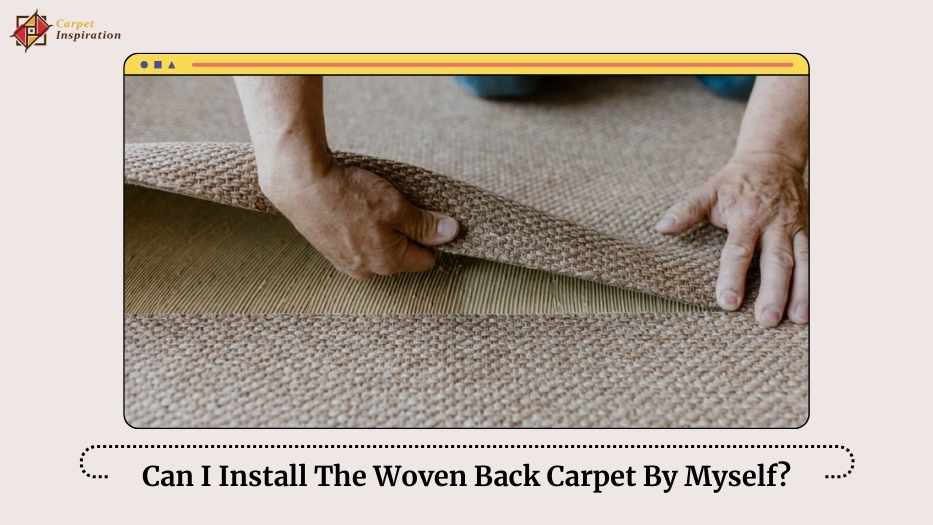
And I assure you with these, even a novice DIYer can achieve professional-looking results. However, you mustn’t forget that it’s essential to follow my step-by-step guide.
It’s to make sure that the installation is done perfectly without damaging the carpet characteristics.
By the way, did you know that “When installing multiple rolls, you should start with the roll having the longest pattern repeat!” – says the SANTON CARPET.
What Tools Are Needed To Install A Woven Back Carpet?
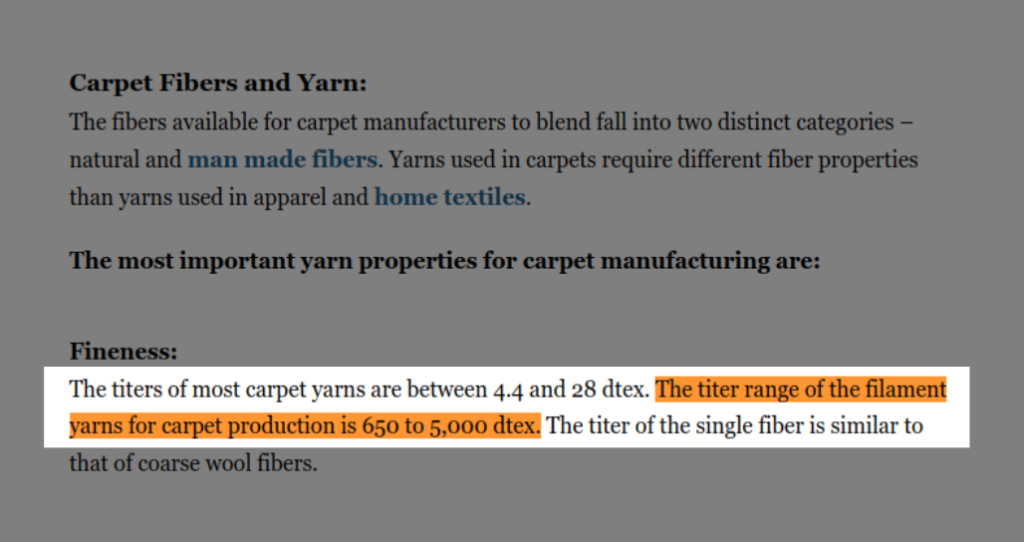
Usually, flat weave carpets have a yarn size ranging from 650 to 5,000 dtex as mentioned on the Textile Learner’s site. And so, dealing with this size of yarn might turn out to be tricky if you are not a qualified installer.
But you know what… you don’t need to worry either way. Just for the peace treaty with your mind have some trial runs done on your old additional carpet before you cut the new one. In fact, a few shots per inch while you are at it. This will also help you to get a grasp of the weight thickness, pile density, and what tools you need.
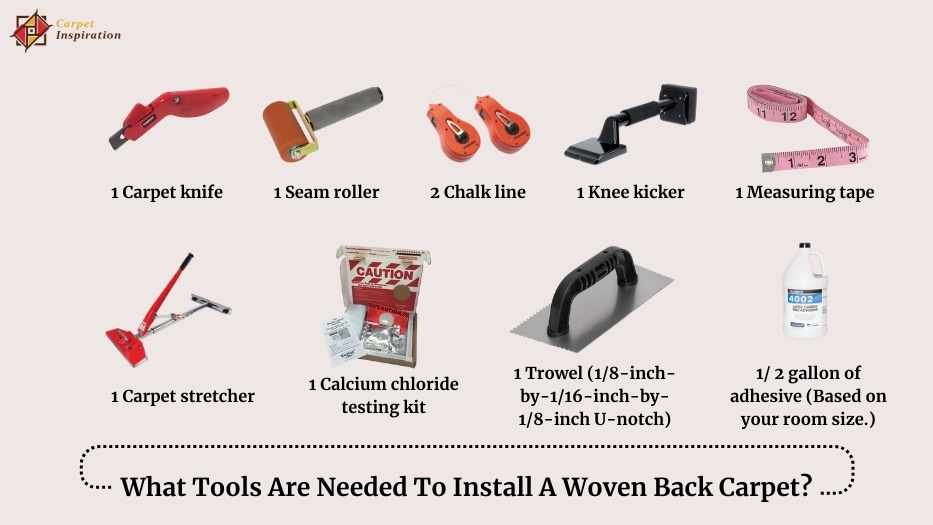
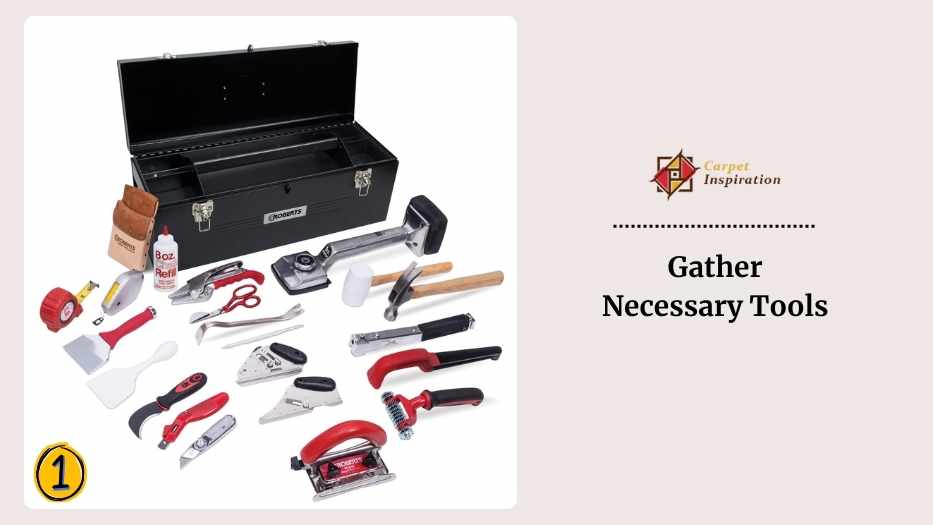
But lucky for you I’ve already listed my test run’s findings for you. So, here’s what tools you’d be needing-
How To Install Woven Back Carpet? (Step-By-Step)
I know you’ve done a really good job with your carpet selection. And I’m sure you’ve looked into the carpet manufacturing tolerances for the transfer of adhesive too. For the remainder, I suggest that you follow these 8 steps down to the words with utmost care.
Speaking of care, do you know how to repair your woven rug? If not, make sure to read my blog on it too.
After all, doing so helps you to be done with the whole task without requiring pro help which surely is music to your pocket. If you don’t believe me ask someone who has realistic levels of experience working with wool pads made of natural fibers. Then you wouldn’t need me to explain the cost of installation.
Step 1: Gather Necessary Tools
First and foremost, make sure to have all the tools I mentioned above within your reach. The art of carpet seaming will only be at its best if there’s no delay with the tools or materials.
In any case, did you know that “If you like repetitive patterns small surface pile carpet would do the trick. And if you are a fan of shorter patterns, color yarns based on ambient temperatures is what you need to focus on.”
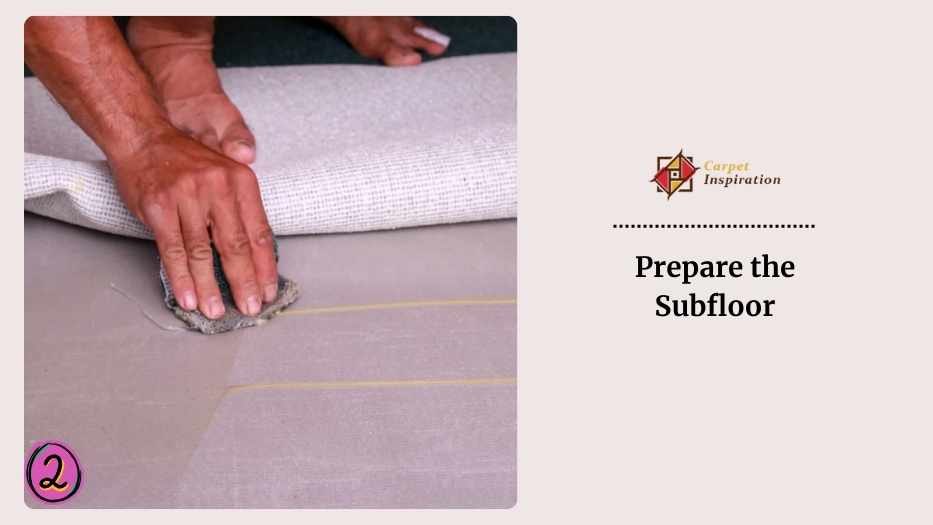
Step 2: Prepare the Subfloor
The subfloor must be clean, dry, and free of any sort of debris. For the double glue installation, any imperfections can affect the final result of your carpet. Use a calcium chloride testing kit to check the moisture of your concrete surfaces. 🧪
The ideal temperature you will get should be somewhere between 65 to 95 degrees Fahrenheit (18 to 35 degrees Celsius) says the Santon Carpet🌡️
I didn’t actually know that a floor can vaporize pounds of moisture until I tried my moisture test kit and saw the moisture migration myself.
Then I found that – “The acceptable level of moisture vapor emissions is less than 3 pounds of moisture per 1,000 sq. ft. over 24 hours.🎚️ ”

If there is an unacceptable moisture condition then you might to find the cause and fix it first before moving on to the next step.
Step 3: Cut the Carpet and Cushion to Fit
When you are done with this moisture migration or moisture vapor emissions (call whatever you like keeping your teeth intact) move on to the cutting part.
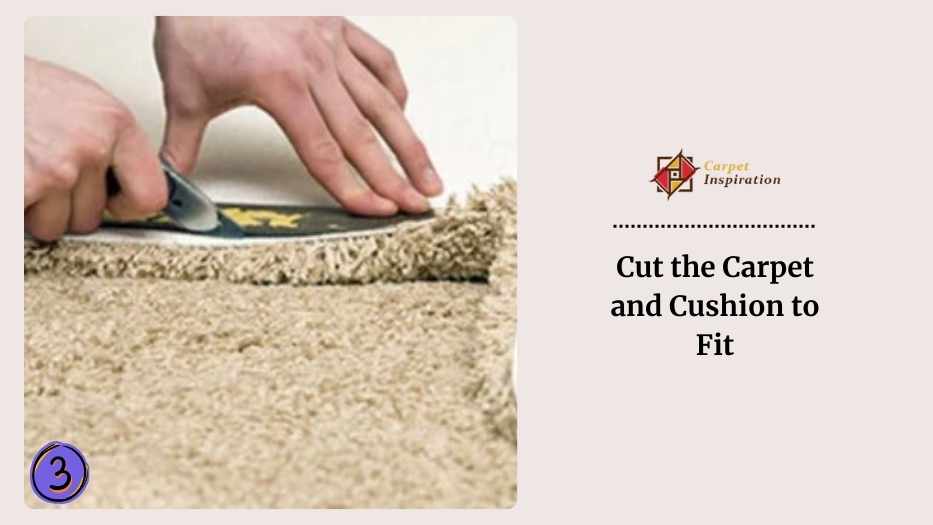
Measure your room first and then cut both the carpet and the cushion to fit, allowing a few extra inches around the edges. 🥸
And don’t worry much… this excess can be trimmed away after the pattern alignment is done and the carpet is secured. When cutting, use a straight edge and a sharp carpet knife for clean cuts.
Step 4: Apply Adhesive to the Subfloor and Lay the Cushion
Spread the adhesive you’ve chosen to use evenly across the subfloor using the trowel.
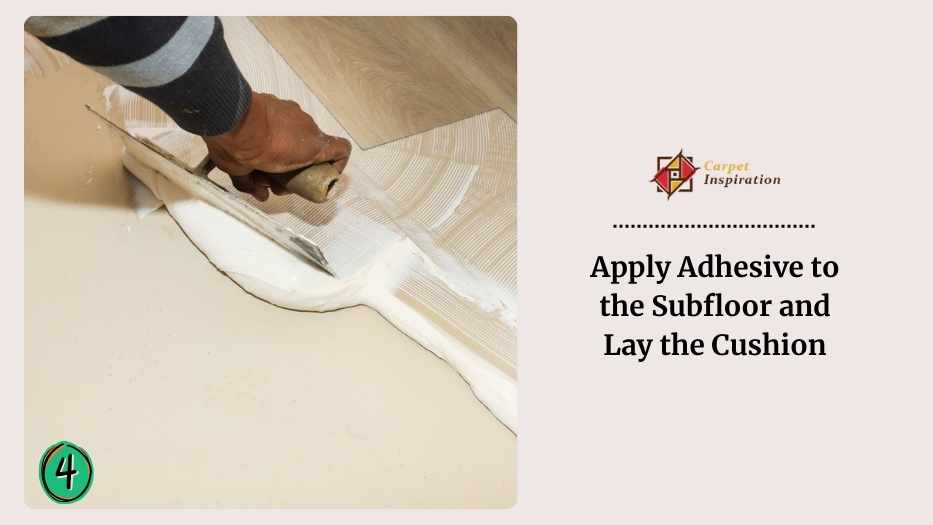
You should also look out for your adhesive manufacturer and carpet manufacturer’s instructions for stuff like the type of installation, trowel size, and adjustment during installation you have to consider. 🤔
The NFIC suggests that you use a ⅛”/⅛”/⅛” sized U-notch trowel. See… 👇

For better outcomes allow the adhesive to tack up before laying the cushion seams. And if you are thinking about how long, the tack time is usually around 15-20 minutes, so don’t fall asleep after that.
When it’s time, lay the cushion onto the adhesive, ensuring it is smooth and free of wrinkles. Press it down firmly to ensure good adhesion.
“The well-known site for JustAnswer says that you’ll be able to cover 13.89 yards per gallon 😲 if you follow proper proportions that is.”

Step 5: Apply Adhesive to the Cushion and Lay the Carpet
Once the cushion is in place, spread the adhesive evenly across the top of the cushion using the same trowel. Again, follow the adhesive manufacturer’s instructions and allow the adhesive to tack up… Just as you did for the previous step🔄.
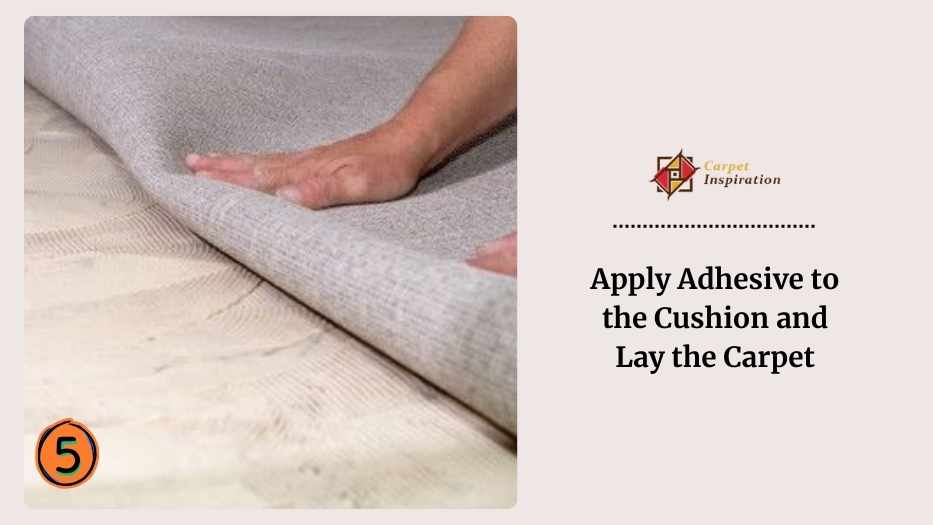
Roll the carpet onto the solid glue-covered cushion. Use the carpet stretcher you’ve got to make sure that the carpet is stretched tightly across the room.
“Always begin in the center of the room, using a knee kicker to secure the carpet edges.”
Step 6: Handle Corners and Tight Spaces
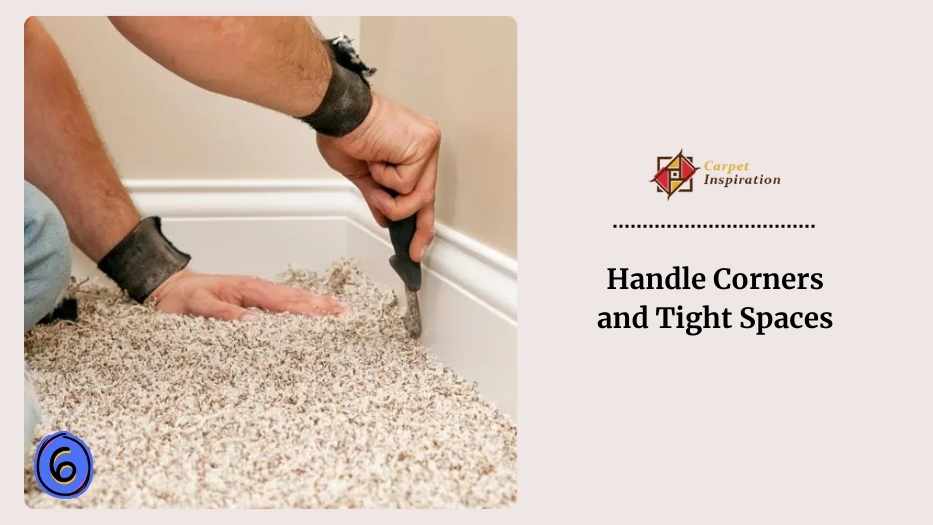
Carefully trim the carpet to fit around corners and tight spaces. Use a carpet knife and a straight edge for precise cuts. Make sure the carpet fits snugly against walls and fixtures.
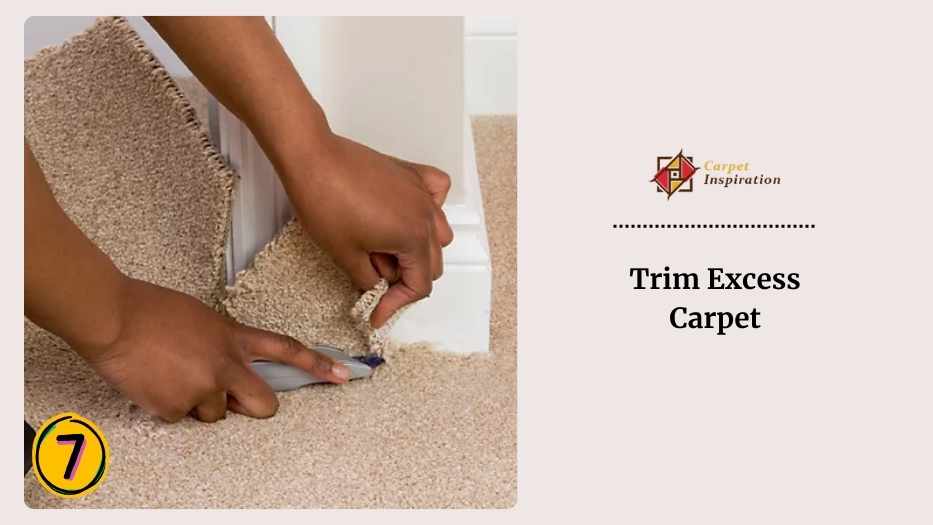
Step 7: Trim Excess Carpet
Trim any excess carpet along the edges using a sharp carpet knife. Ensure that the carpet lies flat and is free from any wrinkles or bubbles.
Step 8: Secure the Seams
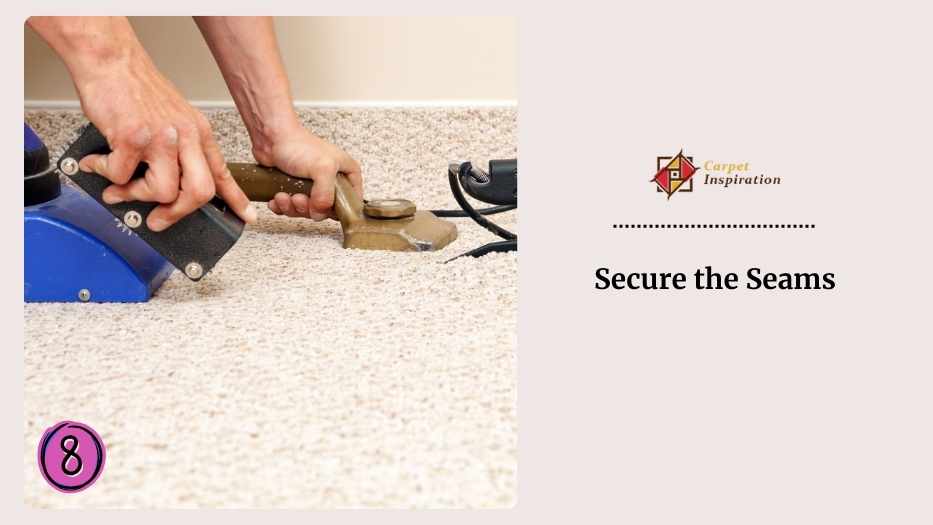
Use seam tape and a seam roller to secure carpet seams. Apply heat using a seaming iron to activate the adhesive on the seam tape. Press the seams together firmly and roll over them with the seam roller to ensure a strong bond.
“If you are using Kool Glide for the process then the NFIC suggests that you cut the flange off of each side of the tape before you use it.”
When I was finished writing this blog I was thinking if this was informative enough. After all, it took me 2-3 hours just to get done with sorting these steps. In fact, the whole double-glue-down installation process on my concrete subflooring left literally dozens of colors on my star tractor suit. So, do me a favor and let me know how your broadloom for wall went, would ya?
Sellers sometimes provide you with a frame carpet so that you can inspect it. You know… to get a better understanding of the carpet pile, type of carpet backing used in it, how heavier yarn is, lines of yarn in a row, loose yarn, pile yarn weight, spools of yarn, strands of yarn, acceptable pattern match of your choice or, exact pattern match, larger patterns, pattern size selection, etc etc etc.
What you need to do is, besides inspecting the piece of carpet in the frame, talk to the seller. Ask him to show you the characteristics by designer of the carpet. For the seam cuts of uncut piles ask about the special mechanism, weft shots, or about the carpet cushion council, etc.
I know it sounds a lot like nagging the poor guy for no reason. But believe me, pal it’s important becuase over time you’ll find yourself at the bottle of rubber base if you don’t know these answers.
Mistakes to Avoid When Installing Woven Back Carpet
While installing woven back carpets make sure to avoid some common mistakes that many make 90% of the time on their first try. Believe me, you really wanna know this. My inexperienced intern once had a mishap with her bead of latex, and the next thing she knew… she spent 48-72 hours fixing this single operation of a mess.
Now like her if you don’t wanna waste your 48-72 hours fixing the mess, here’s what you need. Read carefully and avoid the mistakes I mentioned below.
By the way, you should also watch this video by the. Cause I think regardless of whether your carpet has a minimum density or not this visual explanation really helps to avoid unintentional mistakes.
Frequently Asked Questions (FAQs)
How Do I Prepare the Subfloor for Carpet Installation?
To prepare the subfloor for carpet installation, you should test for moisture levels using a moisture test kit if you have a concrete subfloor. While using the testing agent give it adequate curing time and look out for subfloor porosity too.
How Do I Stretch a Woven Back Carpet to Avoid Wrinkles?
To stretch a woven back carpet to avoid wrinkles you can use a carpet stretcher and knee kicker. Using these you can stretch from the center outward around 1% – 1.5% in length. Competent craftsmen say that this technique works well with carpet breadths too.
How Do I Handle Corners and Tight Spaces When Installing Carpet?
To handle corners and tight spaces when installing carpet you’ve gotta carefully measure and cut the carpet body. To meet your levels of expectation avoid additional staffing while working with the piece of carpet. Later you can use latex seam sealer or other sensitive glue to seal them off.
Can Woven Back Carpet be Glued Down?
Yes, woven back carpet can be glued down for sure. If you have a bigger room and need carpet cushion seams then using some premium adhesive you’d want to direct glue down and do some double glue installations.
Last But Not The Least
I wanted to make your carpet exposure as easy as possible. Cause I certainly had to take on a great deal of pain spending hours before installation to figure out the process. But believe me, knowing how to install woven back carpet yourself is a really rewarding DIY project that can save you money and give you professional-quality results too.
By following my explained steps you’ll be making sure of a successful installation with minimal mistakes or maybe none at all. Oh, and if there is some damage later on then you can also go through my guide where I explain how can you repair your woven rug.
With that, my lengthier of an explanation ends… I hope you weren’t lost for long while reading it… HAPPY CARPETING TO YA!

Leave a Reply